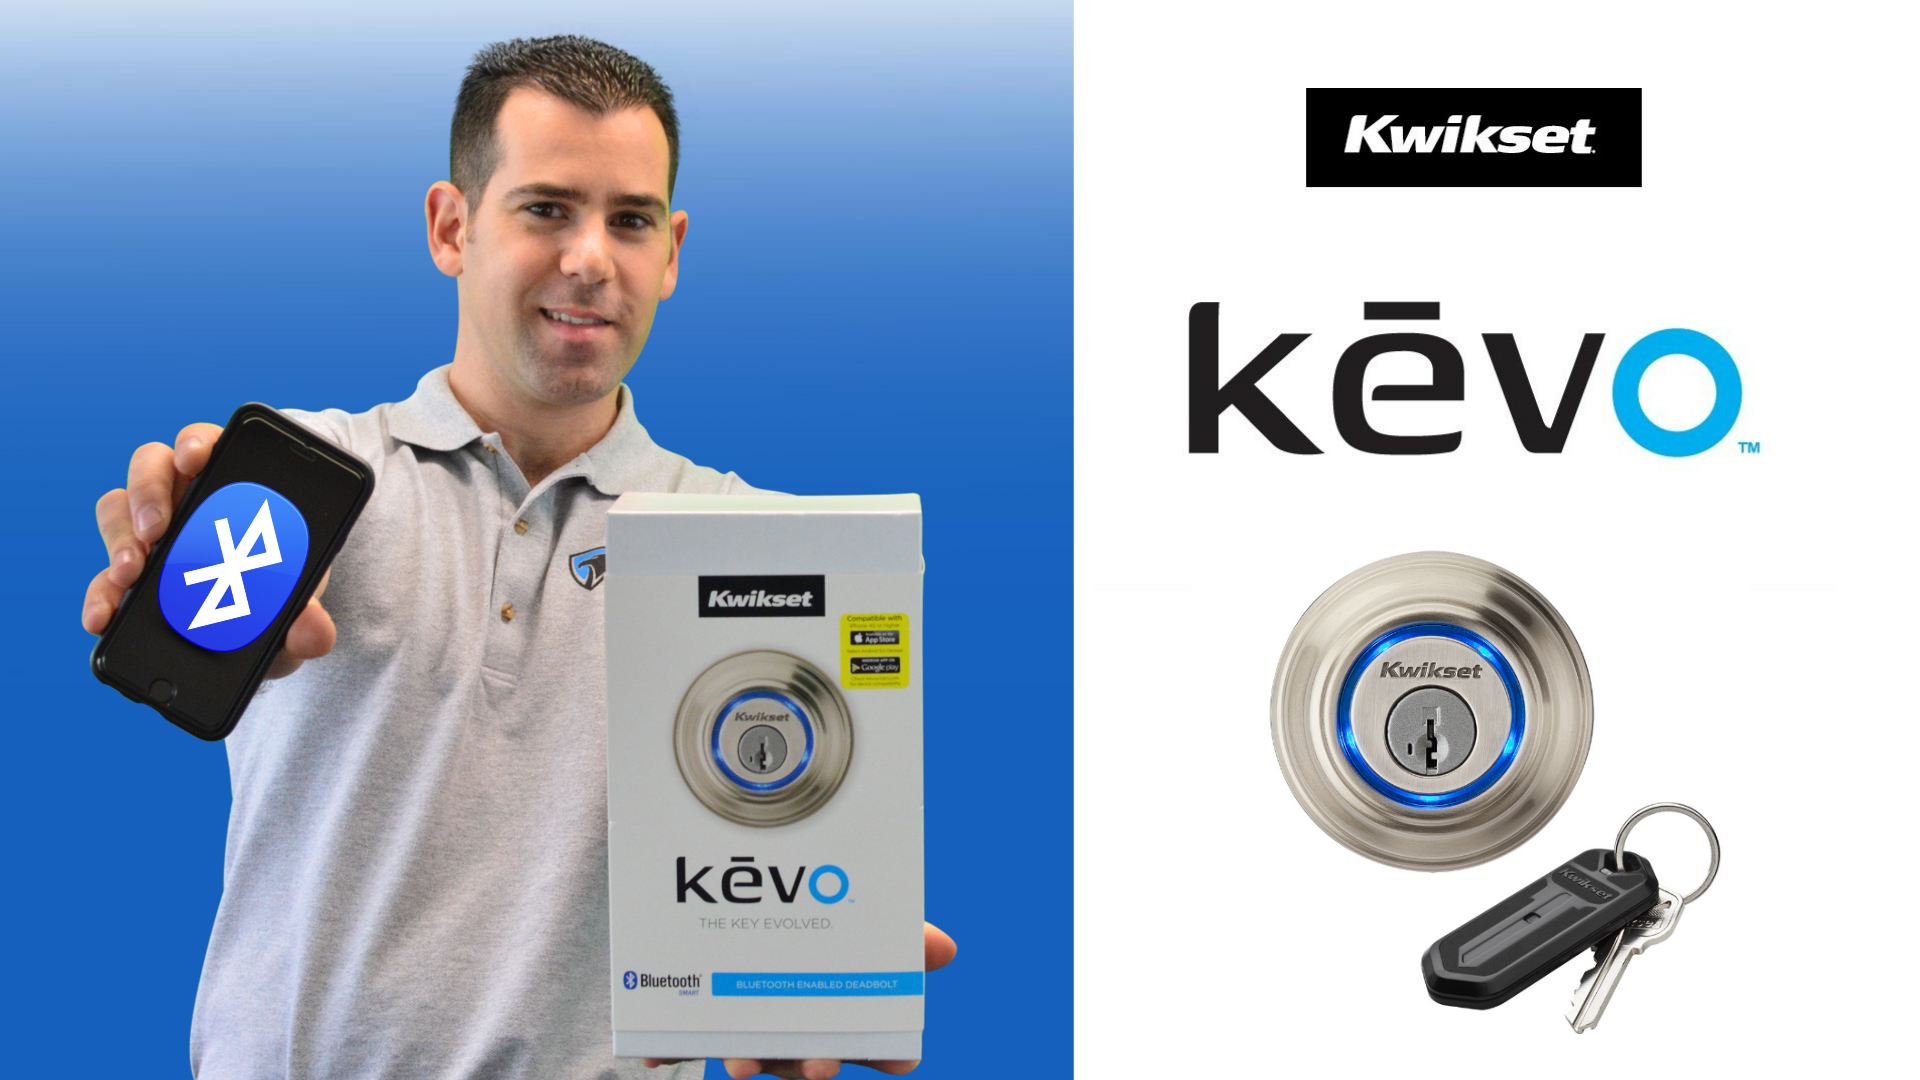
Kwikset Kevo deadbolt locks are without a doubt among the best locks in the industry. In addition to their many unique features and amazing benefits, they are super easy to install. In fact, you can have your lock ready to work in 5 simple steps. Below is a detailed guideline that should help you with your installation. That way, whether you are a locksmithing newbie or you are a hardened veteran you will know exactly how to handle Kwikset Kevo deadbolt locks.
Installation In 5 Simple Steps
STEP 1- Make sure that you have all that you need
You cannot start and successfully carry out a DIY project without all the necessary tools. Ensuring that you have everything that you need for your project is therefore a very important step. The equipment and tools to be used are in two categories. The first is the Kwikset Kevo deadbolt lock pieces. These come as a package from the company and include different parts of the lock as well as small pieces used to secure them like screws. The second category of things that you will need is that of basic lock installation tools. This includes things like drill guns, drill hole templates and screw drivers. These help to prepare the door surface for the lock installation.
STEP 2-Read the manufacturer’s instruction manual for special guidelines
After ensuring that you have all the equipment, reading through the manufacturer’s instruction manual is the next step. This allows you to understand the Kwikset Kevo lock in terms of what goes where and what you need to do for successful installation.
STEP 3- Mark the door and drill the required holes
The next step is to prepare the door surfaces where the lock will go. This includes identifying the lock location, accurate marking and drilling of the required holes. It also includes chiseling surfaces where things like the deadbolt and the strike plate will go to ensure that there is seamless continuity with the door surface.
STEP 4- Install the different parts
The first part to go in with Kwikset Kevo and other deadbolt locks in general is the deadbolt itself. This is followed by the lock then mounting plate. Installation is done by fitting these pieces into their respective holes on the door and fastening with screws. With Kwikset Kevo, it is also important to ensure that the wires are carefully handled and left intact for the final step of the installation.
STEP 5- Connect the electronic components and program the lock
The last step is connecting the wires to the electronic control unit and installing the battery pack. Once your lock is functional, all you have to do is program it using the Kwikset Kevo app and you will have your electronic key ready. If you prefer using actual keys, you can have the lock reset to your existing key’s specs using the template key piece. Either way, your lock will be ready for use.
Bottom line
You cannot argue with the fact that installing a Kwikset Kevo deadbolt lock is super easy. This is especially considering the fact that it is an electronic lock and therefore requires programming. The five steps above will ensure that you have your lock ready in no time. So whether you are replacing a broken lock on your home or you want to upgrade with something more high tech, the steps above should be of a lot of use to you. Just remember that should you be in doubt or in case you run into any trouble during the process, calling your locksmith will do you a lot of good.

Joan Woolf is a home blogger who loves to share her experiences with others. She likes being motivated and encourages people to be the best they can be.


