I’m not sure why, but people who live in older homes with plaster walls and ceilings are intimidated by repairing them. It doesn’t have to be this way. Repairing older homes with plaster ceilings and walls is nearly as easy as repairing drywall!
As a professional Handyman, I’ve done a lot of plaster repair in Tulsa and the surrounding cities. Like most other places, the older homes are the ones with plaster. Lots of people are not afraid to tackle drywall, but few will try their hand at repairing their own wall or ceilings if plaster is involved. I’m going to show you how easy it is!
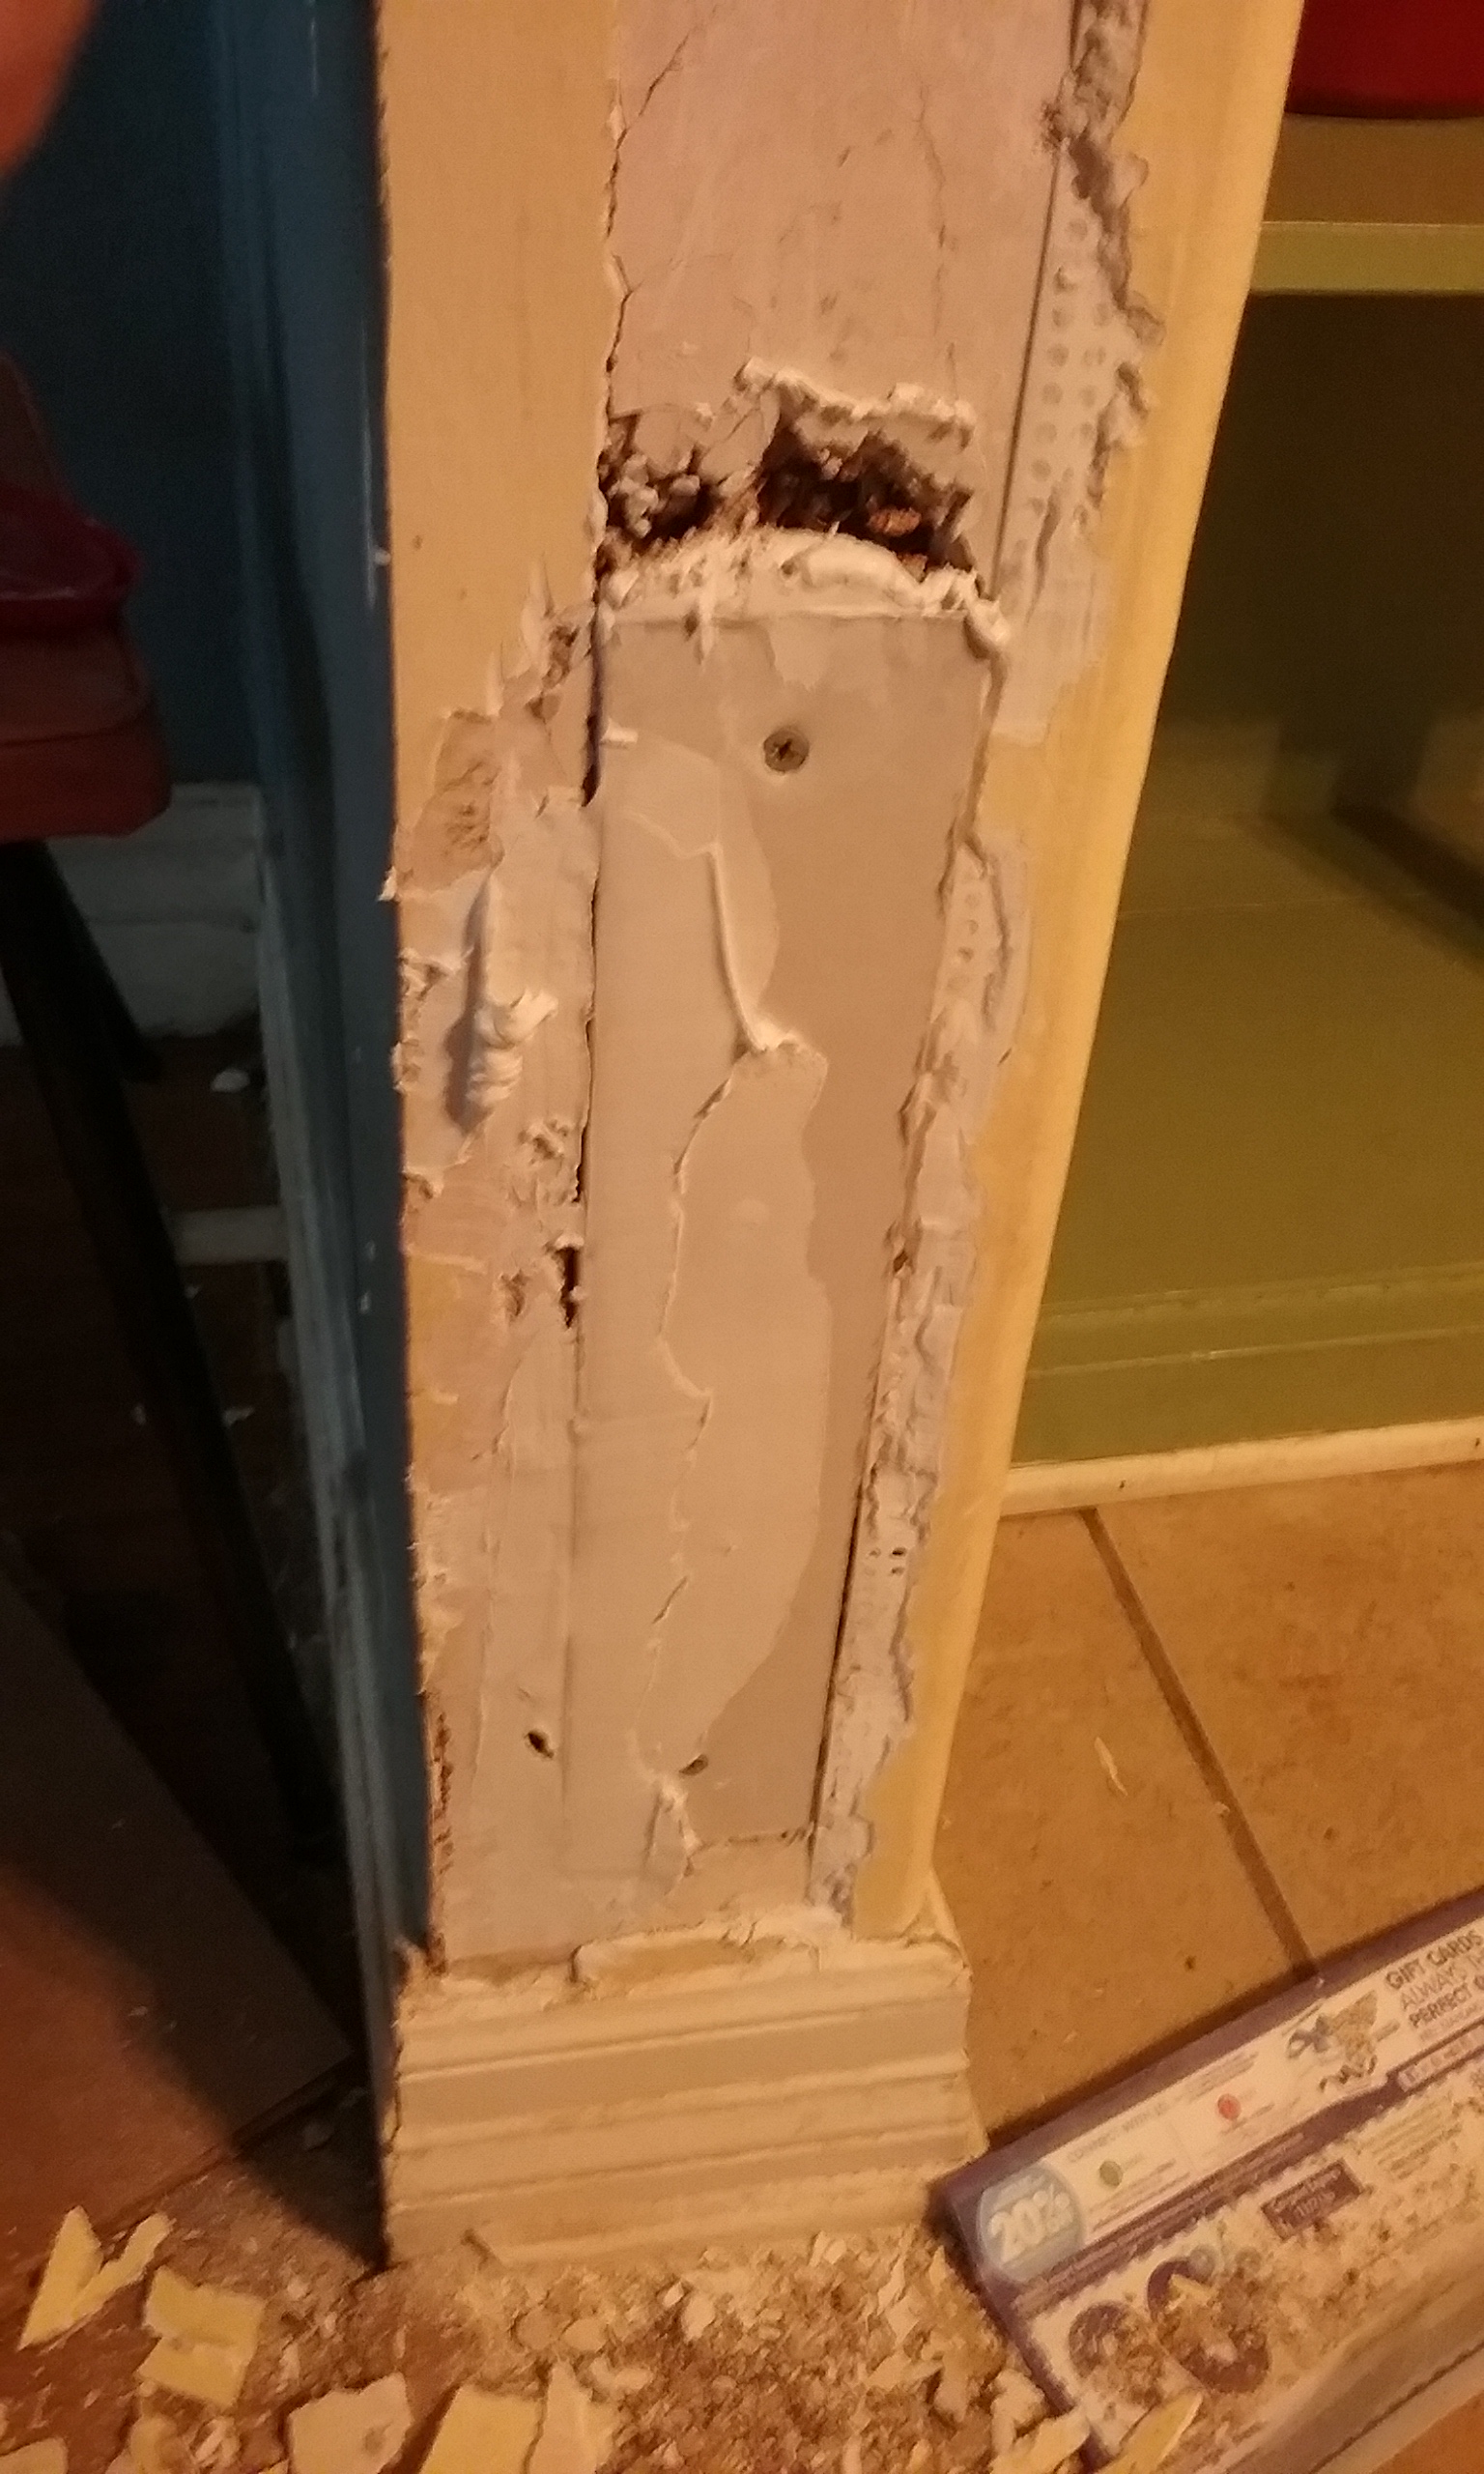
Just recently on a old home in the Midtown district of Tulsa, I was called to repair some plaster that the homeowner had attempted himself. It turned out bad, which is why they called me. I’m going to walk you through this particular repair. You may be surprised at how I fixed it. When I was done, no one could tell there had ever been damaged plaster. That’s the way I work. As a handyman in Tulsa, my reputation comes before a quick buck!
Here’s a list of things you’re going to need.
• A putty knife
• A tub of DAP Patching Plaster compound
• Drywall tape – yes, drywall tape!
• A piece of drywall large enough to fill the hole
• A sponge and some water
That’s it. That’s all you’ll need in order to patch most holes in plaster. Here’s how I go about it.
First, clean out around the hole. Make sure you get all the crumbled and cracked plaster gone.
Second, fit your piece of drywall to the size of the hole you need to repair. Pro tip here, it’s easier if you make the piece of drywall larger and then cut the plaster to fit it.
You don’t want a tight fit. Maybe a pencil lead or a tad thicker space between the drywall and plaster. Now once you have the drywall cut to the space, go ahead and use some drywall screws to secure it to the plaster lathe.
Now use some of the DAP Patching Plaster compound and fill the cracks and leave a fair amount on the surface, just wider than your tape. Once you have the compound on the edges, go ahead and apply the drywall tape. Make sure you use enough force to push the compound deep into the cracks, but not too hard as to cause more damage!
Go ahead and smooth out the tape and compound. If the drywall patch is a little thinner than the plaster, that’s okay. Plaster is thicker a lot of times. Just be sure you don’t lay on the patching plaster too thick. It’s a process and it will take a few days to get it looking good.
Now you’re done for the day. But before you quit, make a few light scratches in the patching plaster compound. An old comb works great for this. These marks will help the next layer adhere to the dried layer.
The next day, you should be able to add enough patching plaster and smooth out the patch to blend with the rest of the wall. Try adding some water to the putty knife. This will make it slick. After the compound dries, you may need to sand to make it blend.
Don’t forget to primer before you paint!
See how easy that was? Anyone can learn how to patch plaster ceilings and walls.

Joan Woolf is a home blogger who loves to share her experiences with others. She likes being motivated and encourages people to be the best they can be.

